

How clients work
Clients are the middle layer of Lope’s hierarchy:Creating a client
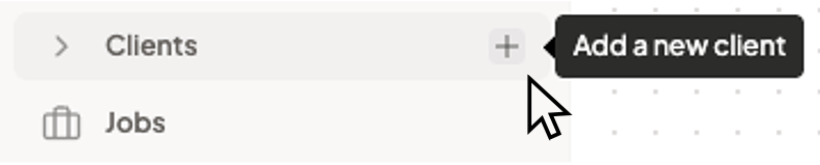
- Open a teamspace in the sidebar.
- Hover in the Clients component.
- Click + (Add a new client) in the right side of the component.
- Enter the client name (e.g., “Acme Corp”, “Tech Startup Inc”).
- Optionally add a description, photo, or emoji.
- Choose Public or Private:
- Public — All teamspace members can see and work with this client.
- Private — Only invited members can access.
Client status
Clients can be:- Active — Currently recruiting for this client
- Archived — No longer active; kept for reference
🏢 Import LinkedIn Company as Client:
If a user wants to import straight from LinkedIn a company of his desire as a Client he can simply:- Click + (Add a new client) in the Clients component from the sidebar.
- Paste the LinkedIn url from that company (i.e
https:www.linkedin.com/company/name/). - Click Import data.
Client permissions
Access to clients is controlled via client membership. If you’re a member of a client, you can see its jobs and candidates.
What lives in a client
- Jobs — Open positions you’re filling for this client
- Candidates — People you’re considering, either:
- Assigned to a specific job.
- Assigned to the client only (no job yet).
- Orphaned (no client or job—these live at the workspace level and can be found only at the Candidates in the sidebar).
Candidate access
Your access to candidates follows your client membership:- Candidates with a job — You see them if you’re a member of the client.
- Candidates with client only — Same rule: client membership grants access.
- Orphaned candidates — Visible to all workspace members (in Candidates).
Clients view
From a teamspace, you can open the Clients view to see all clients as cards. Each card shows:- Client name and logo/emoji
- Job count
- Contributors (team members working on this client)
- Status (active/archived)
Next steps
- Jobs — Create job positions under a client
- Import candidates — Add candidates from LinkedIn, manually, or CSV