How teamspaces work
Teamspaces sit between your workspace and your clients. They help you:- Organize clients and jobs into logical groups
- Control access with public or private permissions
- Collaborate by inviting team members to specific teamspaces
🚀 Getting Started Teamspace
Each workspace admin (workspace admin is any person whom signs-up and creates a workspace or just a non-invited user), has by default an initial teamspace which is called “Getting Started Teamspace”. Later on, he can create as much teamspaces he wants.Creating a teamspace
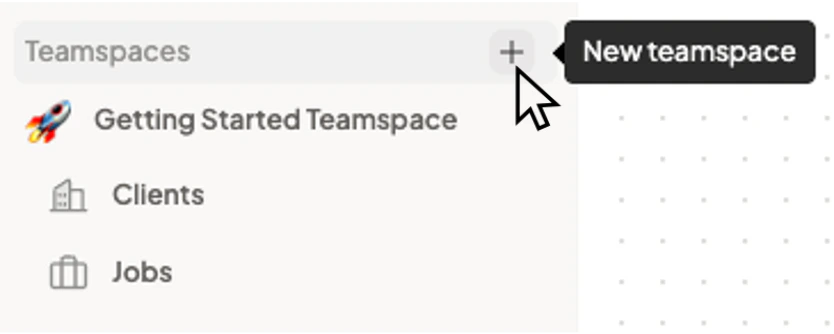
- Click the + button next to “Teamspaces” in the sidebar.
- Enter a name (e.g., “Engineering hires”, “Q1 Clients”).
- Optionally add a description and emoji.
- Choose Public or Private:
- Public: All workspace members can see and join. New workspace members are auto-invited.
- Private: Only invited members can access.
Teamspace permissions
What lives in a teamspace
- Clients — Companies or hiring entities you’re recruiting for.
- Jobs — Open positions under those clients.
Membership
- Owner — The user who created the teamspace.
- Members — Users who joined (via invite for private, or auto-add for public).
- View and work with clients and jobs in the teamspace.
- Add clients and jobs (if they have the right permissions).
- Invite other workspace members to the teamspace.